6 Simple Tricks To Using WallCutz Stencils.
If you're using WallCutz stencils to paint on walls, furniture, or other surfaces, here's a breakdown of the process:
1. Clean the surface: Clean the surface you want to paint with stencils. Make sure it's free from dust, dirt, and any other debris that could interfere with the paint.

2. Choose the right stencil: Choose a WallCutz stencil that's the right size and shape for your project. WallCutz stencils are made of durable material that can withstand repeated use, so you can use them again and again.

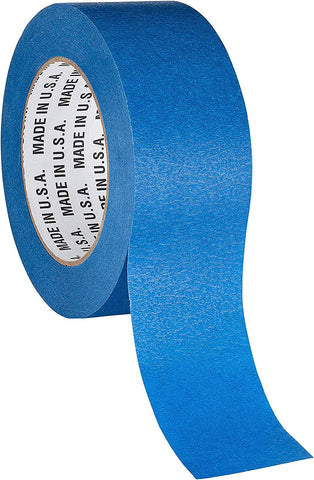
3. Position the stencil: Position the WallCutz stencil on the surface using painter's tape or stencil adhesive. Make sure the stencil is straight and centered, and that it's secured in place so it won't move while you're painting.

4. Apply the paint: Apply the paint to the stencil using a stencil brush or sponge. Make sure you apply the paint lightly and evenly, using a dabbing motion rather than brushing or swiping the paint.

5. Remove the stencil: Once the paint is dry, carefully remove the stencil from the surface. WallCutz stencils are designed to be easy to remove and reposition, so you can move on to your next stencil or touch up any areas that need it.

Touch up any imperfections: If there are any areas where the paint has bled or the edges of the design aren't as crisp as you'd like, use a small brush or sponge to touch up the paint. Let the touch-up paint dry before moving on.
6. Protect the design: Once the paint is completely dry, you may want to apply a clear coat or sealer to protect the design from wear and tear.

With WallCutz stencils, you can create a variety of designs on walls, furniture, and other surfaces. Just be sure to choose the right stencil for your project, work carefully and patiently, and have fun with your creation!


Good morning,
I am very pleased with the stencils purchased from wallcutz and appreciate the inclusion of the bee stencil. I will definitely order from wallcutz again!
Kathleen
Leave a comment